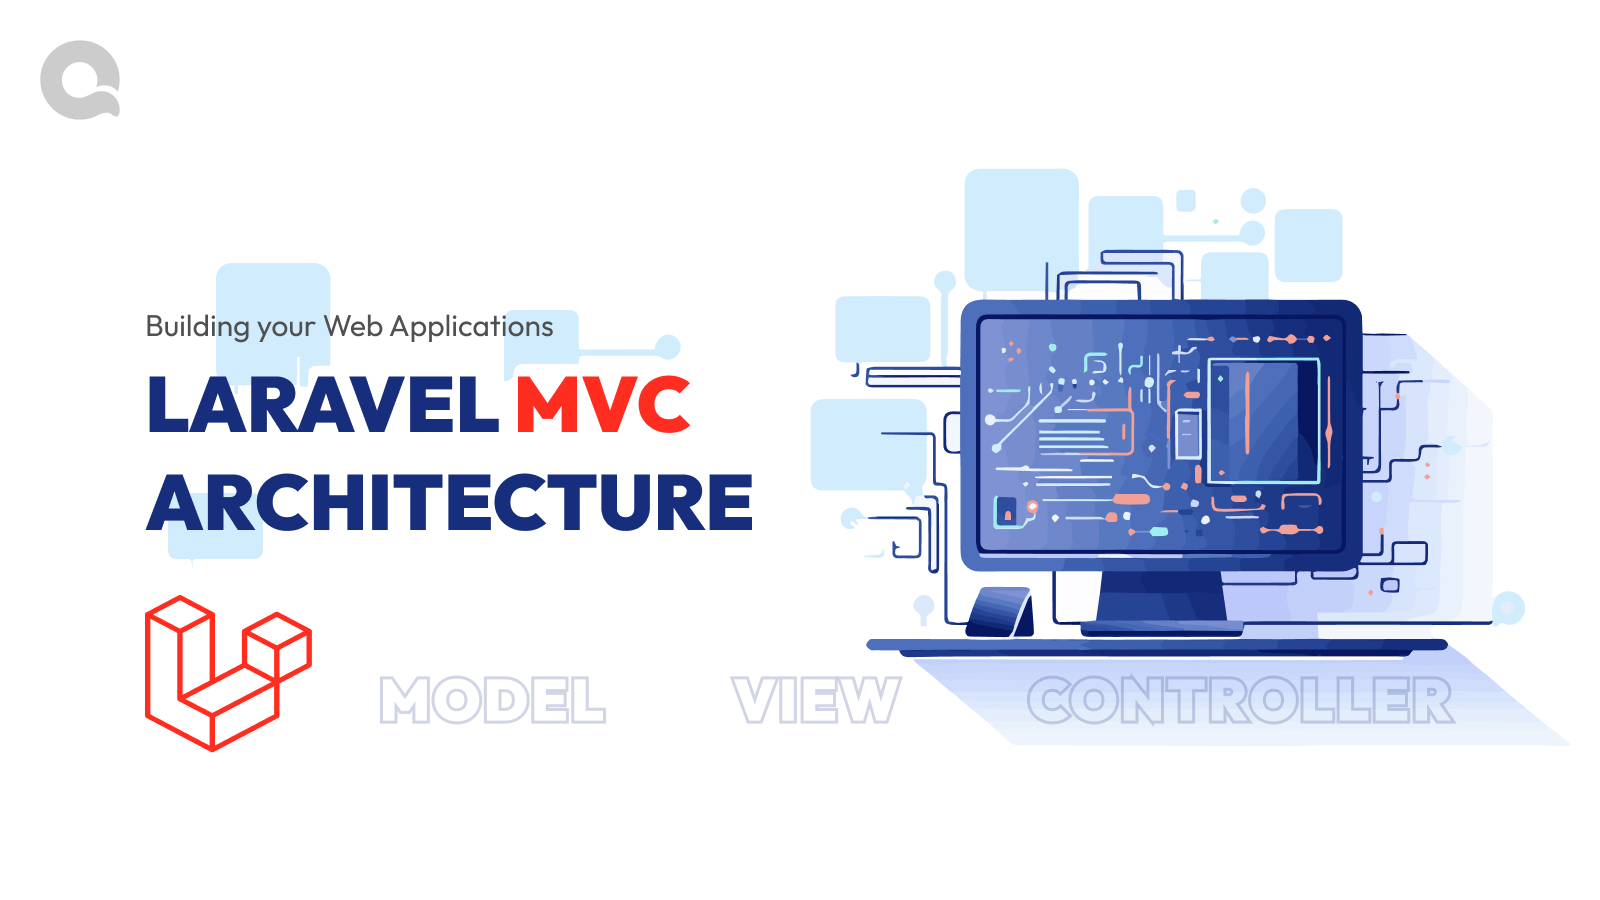

Introduction
We’ll talk about the MVC architecture and Laravel’s implementation of it in this blog article. We’ll go through each element’s duties and provide examples of how to build a Model, View, and Controller in Laravel. We will also go through the advantages of MVC with Laravel.
Want to explore Laravel’s modular architecture? Dive into Laravel HMVC for scalable and reusable code structure.
Understanding MVC Architecture
A. Model
The model represents the data and business logic of an application. It manages data processing, data validation, and database interactions. Data delivery to the View and data acquisition from the Controller are the responsibilities of the Model.
The Model specifies the database structure, relationships with other Models, data validation policies, and data processing techniques. In Laravel, a class representing a database table may be used to generate a model. Eloquent ORM may be used to communicate with the database table.
Defining Relationships
Eloquent makes it easy to define relationships between models:
- One-to-One:
public function user() { return $this->belongsTo(User::class); } - One-to-Many:
public function comments() { return $this->hasMany(Comment::class); } - Many-to-Many:
public function roles() { return $this->belongsToMany(Role::class); }
Querying Data
Eloquent provides a fluent interface for querying the database:$posts = Post::where('status', 'published')->get();
You can also use Eloquent’s eager loading to reduce the number of queries:$posts = Post::with('comments')->get();
Laravel model example
Let’s build a user model to reflect the database’s users table.
<?php

namespace App\Models;

use Illuminate\Database\Eloquent\Factories\HasFactory;
use Illuminate\Database\Eloquent\Model;

class User extends Model
{
    use HasFactory;

    protected $table = 'users';

    protected $fillable = [
        'name',
        'email',
        'password',
    ];
}
We’ve developed a User Model class that in this example extends the Eloquent Model class. The $table property has been defined to contain the name of the database table. The columns that may be allocated in bulk are specified by the $fillable attribute, which we have already established. Now, this Model may be used to communicate with the database’s users table.
B. View
The View is a representation of an application’s user interface. Both user input and data are shown to the user. The View is in charge of displaying JavaScript, CSS, and HTML.
The duties of the View include rendering HTML, CSS, and JavaScript, managing user input and events, and presenting data supplied by the Controller. By generating a Blade template file in Laravel that specifies the HTML, CSS, and JavaScript code, we can construct a View.
Blade Syntax
Blade offers powerful templating features:
- Inheritance:
@extends('layouts.app')and@section('content') - Conditionals:
@if ($condition) … @endif - Loops:
@foreach ($items as $item) … @endforeach - Components:
@component('components.alert', ['type' => 'error']) … @endcomponent
An example of a view in Laravel
Let’s create a user.blade.php file that shows user information in the views directory.
@extends('layouts.app')

@section('content')
    <h1>User Profile</h1>
    <p>Name: {{ $user->name }}</p>
    <p>Email: {{ $user->email }}</p>
@endsection
In this illustration, we’ve created dynamic content using the Blade templating engine. The @extends directive was used to extend a layout file, while the @section directive was used to specify the content section. The data supplied by the Controller has been shown using the Blade syntax.
Want SPA-level interactivity using Laravel views? Explore how Laravel Inertia enhances UX while keeping things server-rendered.
C. Controller
User requests and answers are handled by the Controller. It serves as a go-between between the Model and the View. The Controller is in charge of handling user input, contacting the Model, and providing information to the View.
Handling user requests and answers, verifying user input, querying the Model to get data, and returning data to the View are all duties of the Controller. By developing a class that extends BaseController, we can construct a Controller in Laravel.
A Laravel controller example:
Let’s construct a class called UserController that gets user information from the database and sends it to the View in the app/Http/Controllers directory.
<?php

namespace App\Http\Controllers;

use App\Models\User;
Clean code is key in MVC. Here’s how to organize Laravel code like a pro using Laravel conventions.
D. Routing
Routing maps HTTP requests to controller actions. Routes are defined in the routes/web.php file for web routes and routes/api.php for API routes.
Defining Routes
Here’s how you can define routes:
use App\Http\Controllers\PostController;

Route::get('/posts', [PostController::class, 'index']);
Route::get('/posts/{id}', [PostController::class, 'show']);
E. Request Handling
Laravel provides powerful tools for handling user requests and validating input data.
Form Requests
You can use form request classes to handle validation:
php artisan make: request StorePostRequestIn the StorePostRequest class, define validation rules:
public function rules()
{
   return [
      'title' => 'required|string|max:255',
      'content' => 'required|string',
   ];
}
Handling Requests
Inject the request class into your controller method:
public function store(StorePostRequest $request)
{
    $validated = $request->validated();
    Post::create($validated);
    return redirect()->route('posts.index');
}
F. Middleware
Middleware provides a convenient mechanism for filtering HTTP requests entering your application. Laravel includes several middleware for tasks like authentication and logging.
Creating Middleware
Generate middleware using artisan:
php artisan make: middleware CheckAgeDefine the logic in the middleware class:
public function handle($request, Closure $next)
{
    if ($request->age < 18) {
        return redirect('home');
    }
    return $next($request);
}
Register middleware in app/Http/Kernel.php.

Implementing MVC in Laravel
A. Developing the Model
1. Define the Model class
We must design a class that represents the application’s data and business logic to establish a model in Laravel. Under the app/Models directory, a User Model class may be created.
namespace App\Models;

use Illuminate\Database\Eloquent\Factories\HasFactory;
use Illuminate\Database\Eloquent\Model;

class User extends Model
{
    use HasFactory;

    protected $fillable = [
        'name',
        'email',
        'password',
    ];
}
We define the attributes and methods for dealing with the user’s table in the User Model class. Eloquent ORM is also used to map the Model to the database.
2. Producing Model migrations
We must make a migration for it to establish a user table in the database. With the help of the following Artisan command, we can make a migration:
php artisan make:migration create_users_table
A new migration file will be created by this command and placed in the database/migrations directory. In this file, we may provide the schema for the user’s table.
use Illuminate\Database\Migrations\Migration;
use Illuminate\Database\Schema\Blueprint;
use Illuminate\Support\Facades\Schema;

class CreateUsersTable extends Migration
{
    public function up()
    {
        Schema::create('users', function (Blueprint $table) {
            $table->id();
            $table->string('name');
            $table->string('email')->unique();
            $table->timestamp('email_verified_at')->nullable();
            $table->string('password');
            $table->rememberToken();
            $table->timestamps();
        });
    }

    public function down()
    {
        Schema::dropIfExists('users');
    }
}
We provide the schema for the user’s table in the up() function. We provide the schema for deleting the user’s table in the down() function. The following Artisan command may be used to execute the migration:
php artisan migrateThe user’s table will be created in the database using this operation.
3. Adding the Model to the Controller
We must build a UserController class in the app/Http/Controllers directory to utilize the User Model in the Controller.
namespace App\Http\Controllers;

use App\Models\User;
use Illuminate\Http\Request;

class UserController extends Controller
{
    public function index()
    {
        $users = User::all();

        return view('user', compact('users'));
    }
}
We define the methods for dealing with user requests and replies in the UserController class. We obtain data from the database using the User Model in the index() function. Next, we send the data to the user.blade.php file. using the condense() method to display.
B. Building the View
The creation of the View comes after the Model has been made. The user interface of the program is rendered by the View. Both user input and data are shown to the user. It is in charge of creating JavaScript, CSS, and HTML.
1. Defining the view file
Views are kept in the resources/views directory in Laravel. We may create a new blade file in the resources/views directory with the required name to build a new View. We’ll construct a user.blade.php file for this example.
<!-- resources/views/user.blade.php -->
<html>
    <head>
        <title>User Details</title>
    </head>
    <body>
        <h1>User Details</h1>
        <table>
            <tr>
                <th>ID</th>
                <th>Name</th>
                <th>Email</th>
            </tr>
            <tr>
                <td>{{ $user->id }}</td>
                <td>{{ $user->name }}</td>
                <td>{{ $user->email }}</td>
            </tr>
        </table>
    </body>
</html>
A simple HTML page with a title and a table to show user information has been created in the code above. The data in the table has been shown using Blade syntax. Laravel’s Blade templating engine enables developers to create dynamic content with a straightforward and expressive syntax.
2. Data transmission between the Controller and the View
We may make use of the compress() method to send data from the Controller to the View. The compact() method takes a list of variable names as inputs, produces an array from those names, and uses those variable names’ values as the array values. The data may then be made accessible to the View by passing this array to the view() method.
// app/Http/Controllers/UserController.php

namespace App\Http\Controllers;

use App\Models\User;
use Illuminate\Http\Request;

class UserController extends Controller
{
    public function show($id)
    {
        $user = User::find($id);
        return view('user', compact('user'));
    }
}
A user is retrieved from the database and sent to the View using the display() function provided in the UserController class in the aforementioned code. Based on the $id argument that was supplied to the function, we utilized the find() method of the User Model to obtain the user from the database. The $user variable was then created into an array using the compact() method, which we then supplied to the view() function. The resources/views directory’s user.blade.php file is loaded by the view() method, which also makes the data accessible to the View.
3. Making the data visible in the View
We may use the Blade syntax to show the data in the View. The syntax may be used to print a variable’s value. Moreover, we may create dynamic information by using loops and conditional expressions.
<!-- resources/views/user.blade.php -->
<html>
    <head>
        <title>User Details</title>
    </head>
    <body>
        <h1>User Details</h1>
        @if ($user)
            <table>
                <tr>
                    <th>ID</th>
                    <th>Name</th>
                    <th>Email</th>
                </tr>
                <tr>
                    <td>{{ $user->id }}</td>
                    <td>{{ $user->name }}</td>
                    <td>{{ $user->email }}</td>
                </tr>
            </table>
        @else
            <p>User not found</p>
        @endif
    </body>
</html>
C. Building the controller
1. Define the Controller class
These steps should be followed to construct the UserController class in the app/Http/Controllers directory:
php artisan make:controller UserControllerEstablish the procedures for dealing with user requests and answers. To obtain information from the database, use the User Model. Give the user the data back. blade.php View.
namespace App\Http\Controllers;

use Illuminate\Http\Request;
use App\Models\User;

class UserController extends Controller
{
    public function index()
    {
        $users = User::all();
        return view('user', compact('users'));
    }

    public function show($id)
    {
        $user = User::find($id);
        return view('user', compact('user'));
    }
}
2. Putting the Controller techniques into practice
Establish the procedures for dealing with user requests and answers. To obtain data entered by users, utilize the Request object. To obtain information from the database, use the User Model. Give the user the data back. blade.php View.
public function index()
{
    $users = User::all();
    return view('user', compact('users'));
}

public function store(Request $request)
{
    $user = new User;
    $user->name = $request->name;
    $user->email = $request->email;
    $user->password = $request->password;
    $user->save();
    return redirect()->route('user.index');
}

public function show($id)
{
    $user = User::find($id);
    return view('user', compact('user'));
}

public function update(Request $request, $id)
{
    $user = User::find($id);
    $user->name = $request->name;
    $user->email = $request->email;
    $user->password = $request->password;
    $user->save();
    return redirect()->route('user.index');
}

public function destroy($id)
{
    $user = User::find($id);
    $user->delete();
    return redirect()->route('user.index');
}
3. Adding a link between the Controller, Model, and View
Data may be retrieved from the Controller’s database by using the User Model. Use the compress() method to send data from the Controller to the View. Display the data in the View by using the Blade syntax.
public function index()
{
    $users = User::all();
    return view('user', compact('users'));
}

public function show($id)
{
    $user = User::find($id);
    return view('user', compact('user'));
}
The data is supplied to the View using the compact() method after being retrieved from the database by the User Model in the code above. The data may be shown in the View using the Blade syntax.
For instance, you may use the code below to show all users in the index.blade.php View:
@foreach($users as $user)
    <p>{{ $user->name }}</p>
    <p>{{ $user->email }}</p>
@endforeach
Use the code below to show only one person in the show.blade.php View:
Advantages of MVC in Laravel
A. Separation of Interests
- The separation of concerns between the Model, View, and Controller is encouraged by MVC. This results in a better-structured codebase since each component has a distinct role and does not overlap.
- Making it simpler to locate and alter code on a particular component aids in keeping clean and ordered code.
B. Reusability of Code
- MVC enables the reuse of Models, Views, and Controllers across many application components. To reduce code duplication and boost code efficiency, developers may construct modular components that can be utilized in many parts of the program.
- It improves code efficiency and decreases code duplication, speeding up development and simplifying maintenance.
C. Scalability
- MVC makes it simple to scale an application. Adding and changing new functionality is more straightforward since the components are segregated, without impacting the rest of the program.
- This promotes a more flexible and adaptable program by making it simple to add new functionality and change current functionality without disrupting the rest of the application.
D. Flexibility
- MVC offers flexibility in an application’s design and implementation. The program may be easily customized and expanded because of the components’ separation.
- It enables simple application expansion and modification, resulting in more specialized and individualized applications.
Want expert help building your Laravel app with MVC architecture? Hire our Laravel developers to bring your vision to life.
📚 Related Laravel Articles
- Exploring Laravel HMVC Architecture
- Mastering Laravel Inertia: UX + SEO
- Laravel Inertia Setup Guide
- Organizing Laravel Code Like a Pro
Conclusion
Finally, Laravel’s Model-View-Controller (MVC) design paradigm has many advantages for creating online applications. MVC encourages the separation of responsibilities, code reuse, and scalability by breaking an application into three linked components. The Controller manages user requests and answers, the Model manages data storage and retrieval, and the View manages data display.
Ready to go deeper? Follow our full Laravel Inertia Installation Guide with tips & tricks to level up your frontend experience
🚀 Build Your Laravel MVC Project with Experts
QalbIT’s Laravel team specializes in clean architecture and scalable applications using MVC, HMVC, and Inertia.js.

Frequently asked questions
Yes, Laravel is a powerful and flexible PHP framework that is suitable for building large-scale web applications. It has a robust architecture that supports scalability, high performance, and efficient code organization. Laravel offers many features that help developers build complex web applications quickly and efficiently, including authentication, routing, database management, and more.
Yes, Laravel is based on the Model-View-Controller (MVC) architecture, and it is designed to work best when used with this pattern. The MVC architecture separates the application logic into three interconnected components: the Model (data and business logic), the View (user interface), and the Controller (intermediary between the Model and the View). By following this pattern, developers can write clean, modular, and maintainable code.
Yes, Laravel's MVC architecture is well-suited for building RESTful APIs. In fact, Laravel provides several built-in tools and features that make it easy to build RESTful APIs, including support for resource routing, content negotiation, input validation, and more.